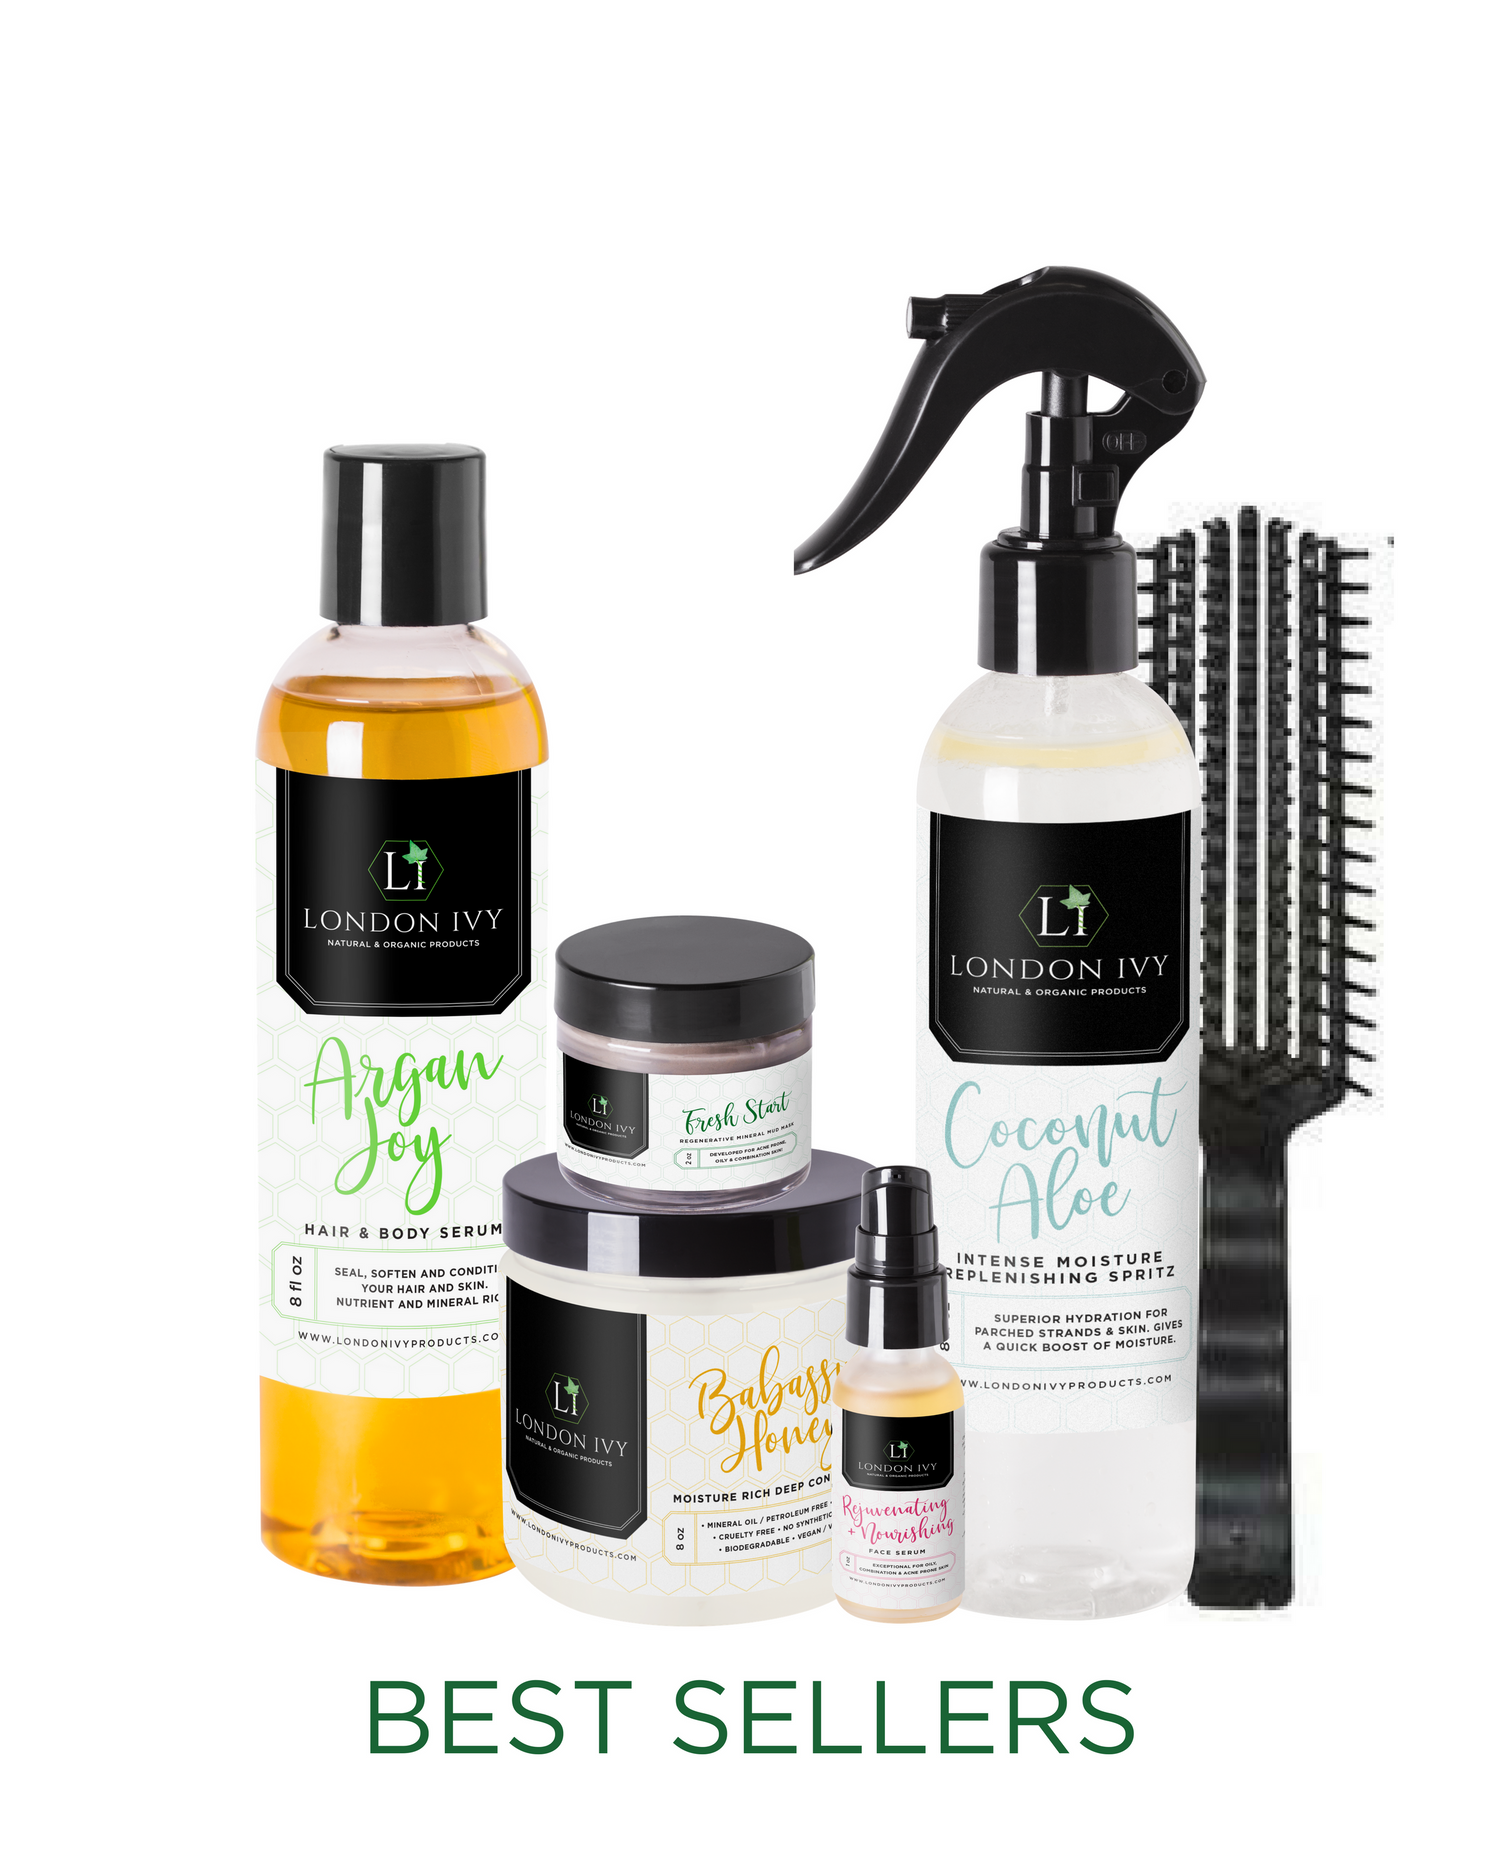
When you hear the phrase "hot oil treatment" you of course think "hot oil" when in actuality it's more like "a warm, but not warm enough to burn treatment".

Why do a hot oil treatment?
- When you hair is dry, the hair shaft becomes weak and damaged. Resulting in your hair breaking and splitting. Not only does this make your hair appear frizzy and unhealthy, it also makes it seem as if it is just not growing, since the ends keep breaking off.
- When you apply a hot oil treatment it penetrates and seals moisture into the hair shaft. The appearance of smoother healthier hair starts by the treatment coating and smoothing ends.
- After relaxing treatments or any kind of chemical processing, hot oil treatments can help improve elasticity, moisture and sheen. - It not only conditions the hair, it detangles it as well, preventing further breakage from brushing and pulling the hair.
- Both long and short term benefits from helping to prevent further breakage.
- Application of the treatment helps to promote circulation and blood flow to the scalp through the gentle massage.
- This process encourages the production of the scalp's natural oils, which are the ideal oils for keeping the hair healthy.
Below we list out the steps to achieving a marvelous treatment that will leave your hair soft, supple and happy. Because as we say here at Curls With Care "happier hair, happier you!".
Directions:
Step 1 : Cleanse hair or alternatively dampen hair.
Step 2 : Pour a few drops (a little goes a LONG way, use enough to just coat length of hair) of the Sealed Hair and Body Oil or Coco Bliss* into a microwave safe container and heat in microwave in short bursts until oil is about body/room temperature, stir and let cool until you are comfortable with the temperature.
Step 3 : Pour a small amount of oil into the palm of your hand and massage it into your scalp (*Best applied to damp hair*). Continue to adding the oil until all your hair is liberally coated. (If you're worried about a mess do this in the bathroom while over the sink)
- Use your fingers or a comb to ensure the oil is distributed thoroughly. (Note: your ends tend to be drier than the hair around your scalp, so do not forget to pay attention to your ends)
Step 4 : Place your hair into a snug shower-cap (if you do not own a shower-cap you can improvise with a plastic bag tied snugly) and leave on for 20mins - 1hour depending on the condition of your hair and conditioning needs.
- Covering your hair creates a warm space which will make your hair more porous, allowing the oil to penetrate the hair shaft more effectively.
Step 5 : Rinse well, paying close attention to the scalp. (Optional: some clients have reported follow up with a Herbal Cider Rinse* has awesome results. - This step is not necessary)
Step 6 : Repeat process as necessary, some do this weekly others bi-weekly, listen to your strands and repeat as necessary.
* (click name for more information or to purchase)
Feel free to share this post!
Kind regards,
Curls With Care Team!
Facebook / Twitter / Instagram : @curlswithcare

